Preamble
Having a Guest interface with its own VLAN in OPNsense is nice as you have a way to
- separate out their traffic from your regular network,
- have fine-grained controls over the firewall rules for the entire network,
- enable traffic shaping on the entire interface.
Assumptions
This setup assumes that you already have a guest interface setup for OPNsense and a guest VLAN for any switches downstream.
This setup also assumes that you already have a wireless access point system setup that broadcasts an SSID that’s attached to said guest VLAN.
Creating the Captive Portal
Setting up the Voucher Server
Start by creating the Voucher Server that will be used to generate the login credentials for the Captive Portal.
Go to System > Access > Servers and press the Add button.
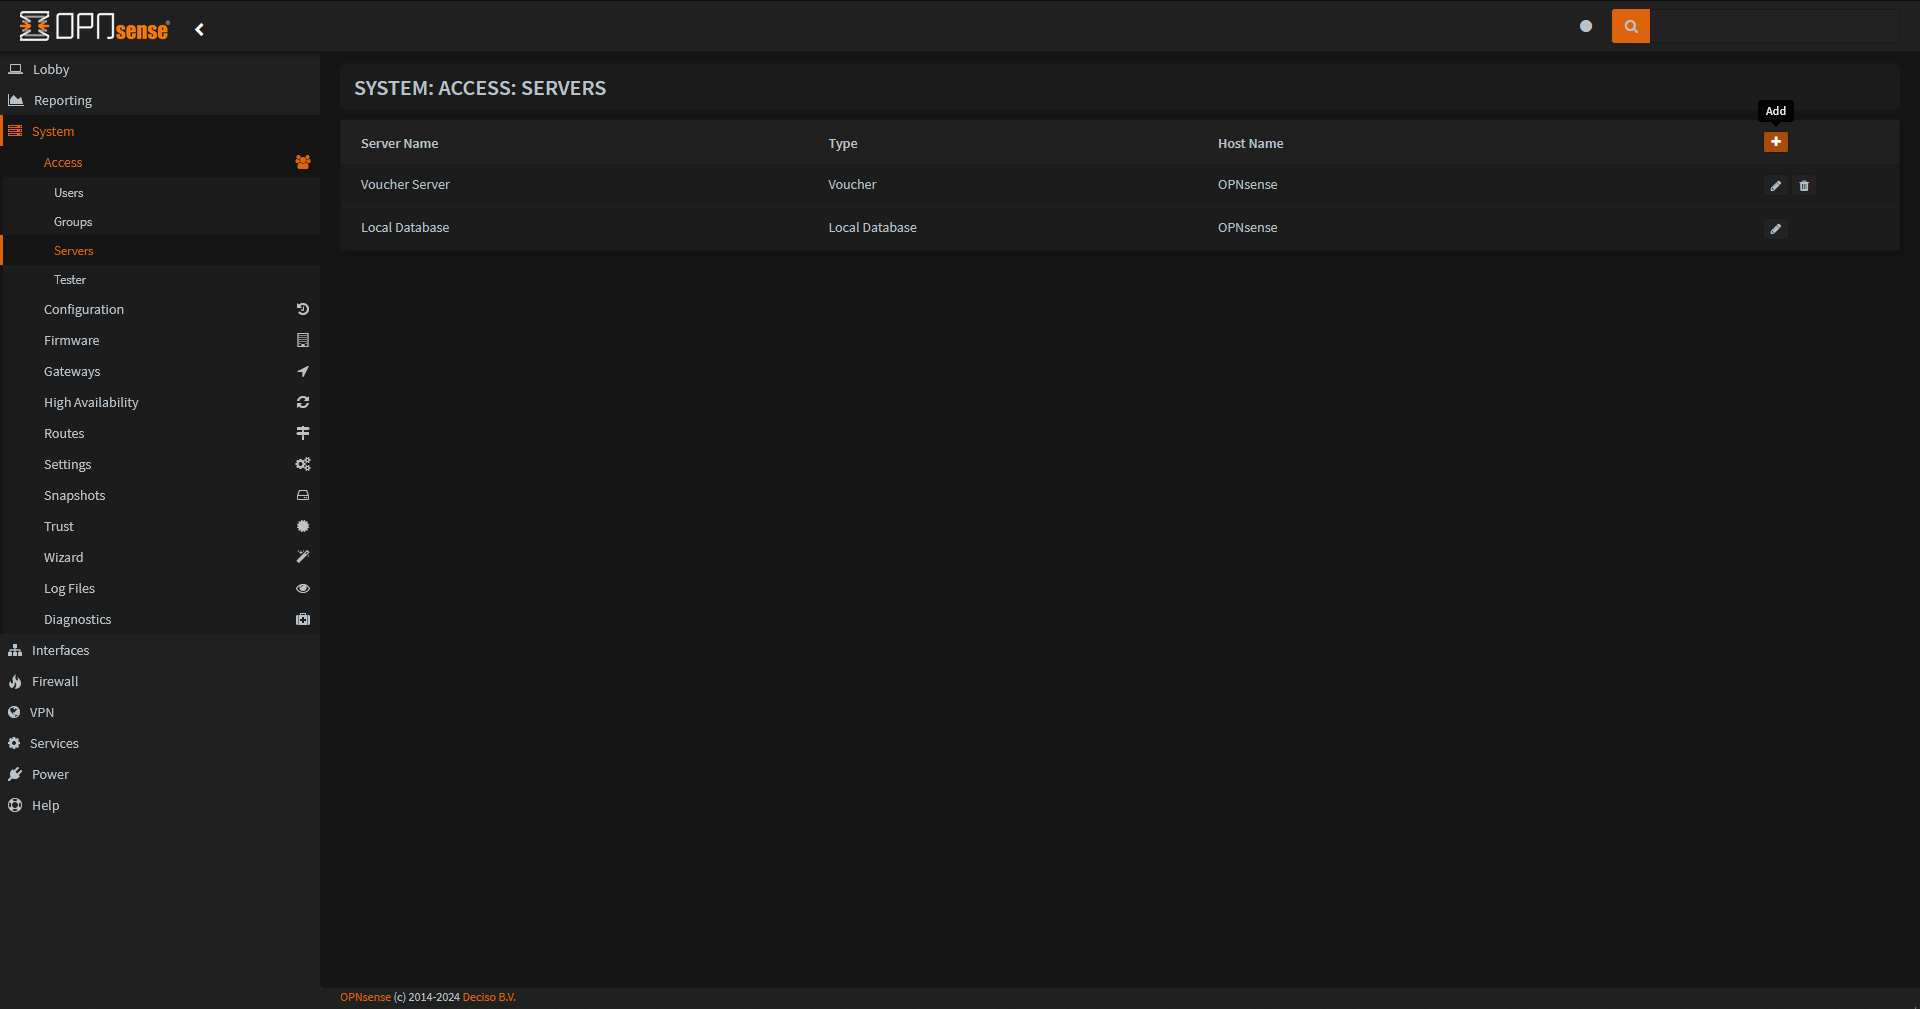
This will open the System: Access: Servers menu which will allow you to create the Voucher Server
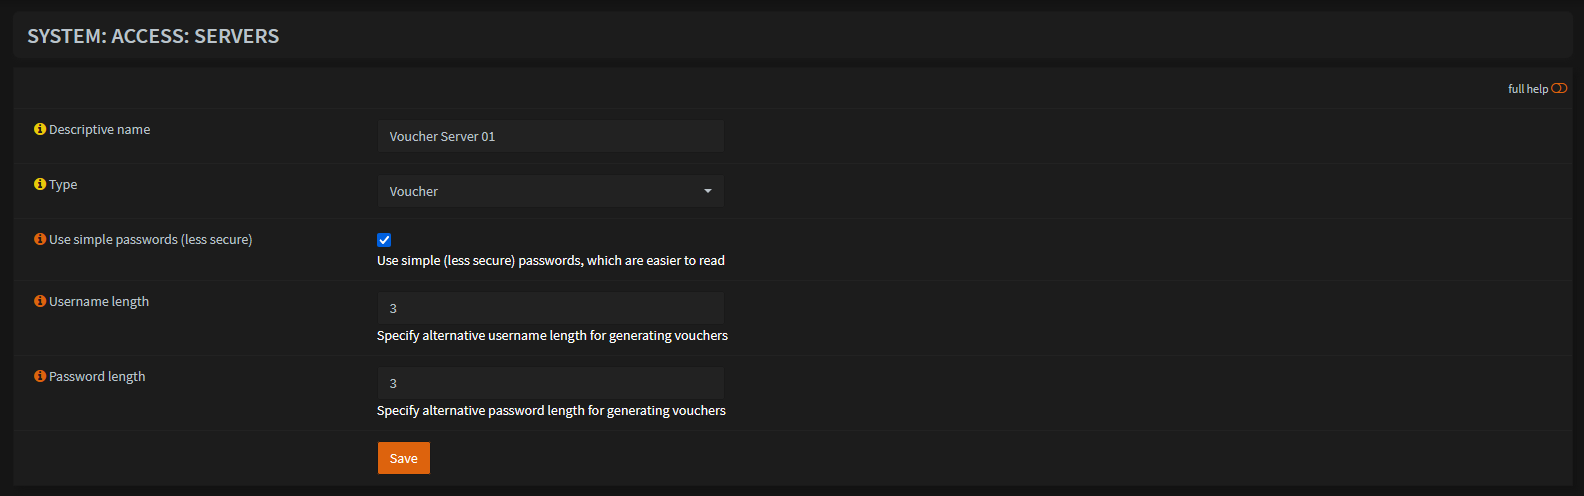 Give it some name to identify it and be sure to set the type to Type to Voucher. You can also set the Username and Password length for each voucher that’s genereated here.
Setting up the Captive Portal
Now we can set up the Captive Portal itself.
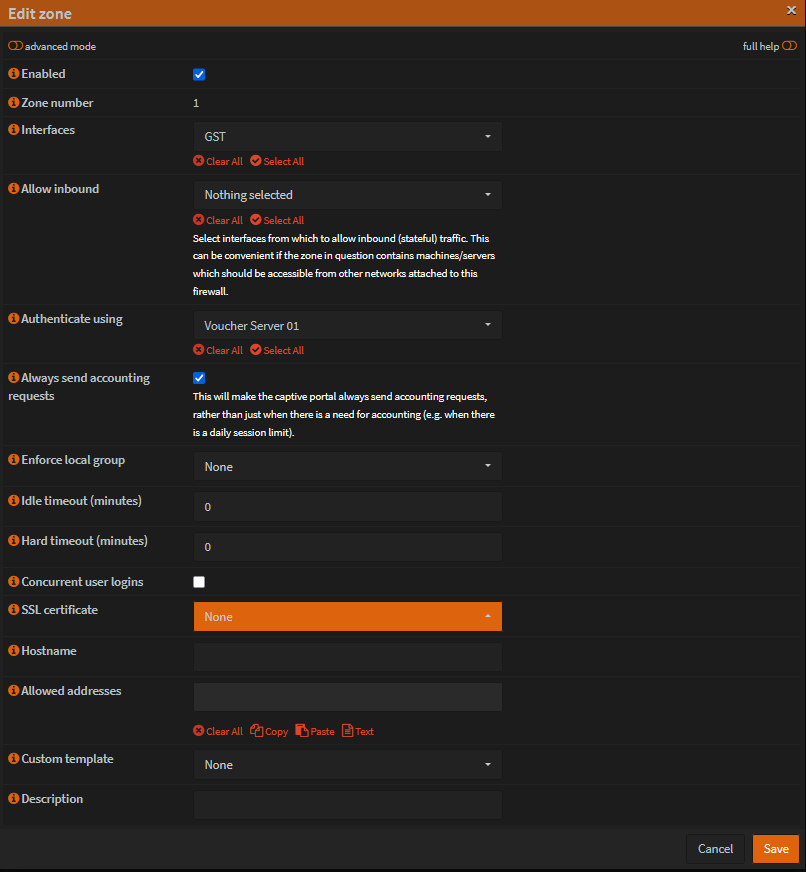
Go to Services > Captive Portal > Administration > Zones and press the Add button.

The zone number is automagically generated, so don’t set it manually if it prompts you.
For Interfaces, select the guest interface.
Unless you specifically need it, leave Allow inbound as Nothing selected.
In Authenticate using, select the Voucher Server that was made previously.
Uncheck Concurrent user logins to disallow people using the same voucher on multiple devices.
Leave all other settings as their defaults.
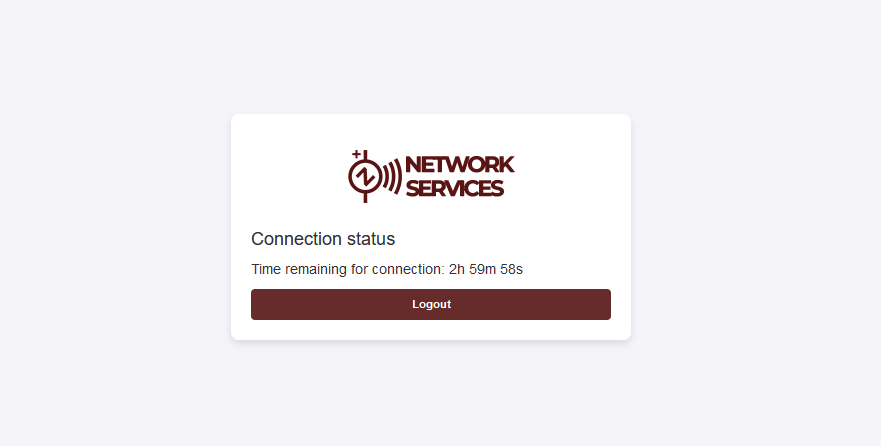
After creating your Captive Portal, it should now be available on <OPNsense guest interface gateway IP address>:8000.
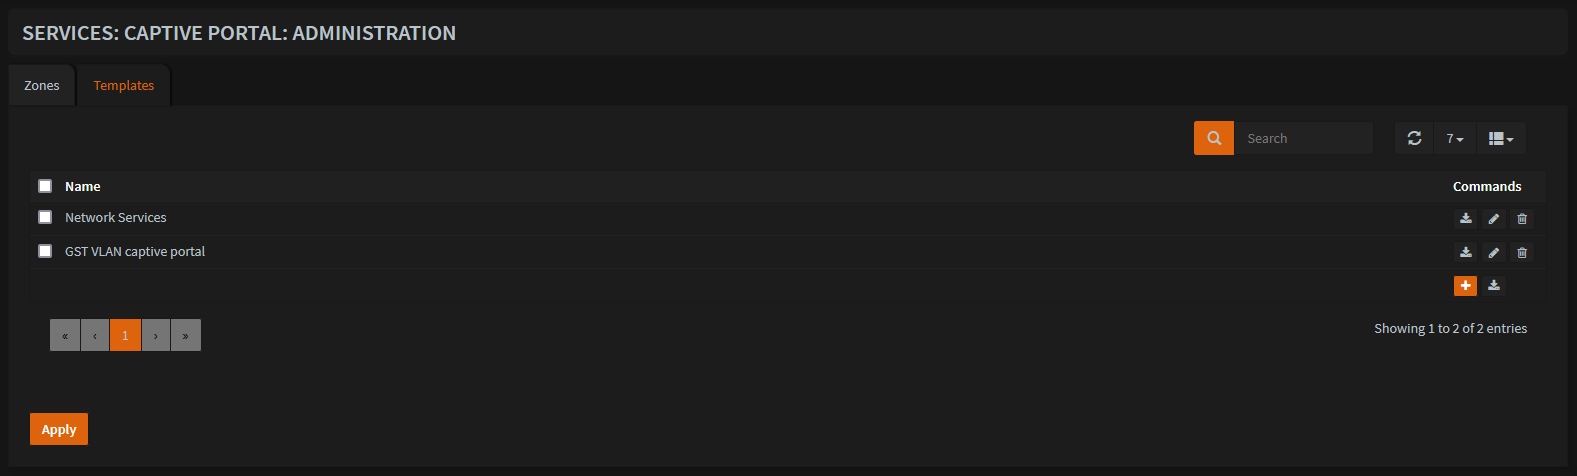
The next (optional) step is to customize the Captive Portal login page, which isn’t as straight-forward as the previous steps. Here, you’d need to go to Services > Captive Portal > Administration > Templates and download the default template using the button next to the Add button.
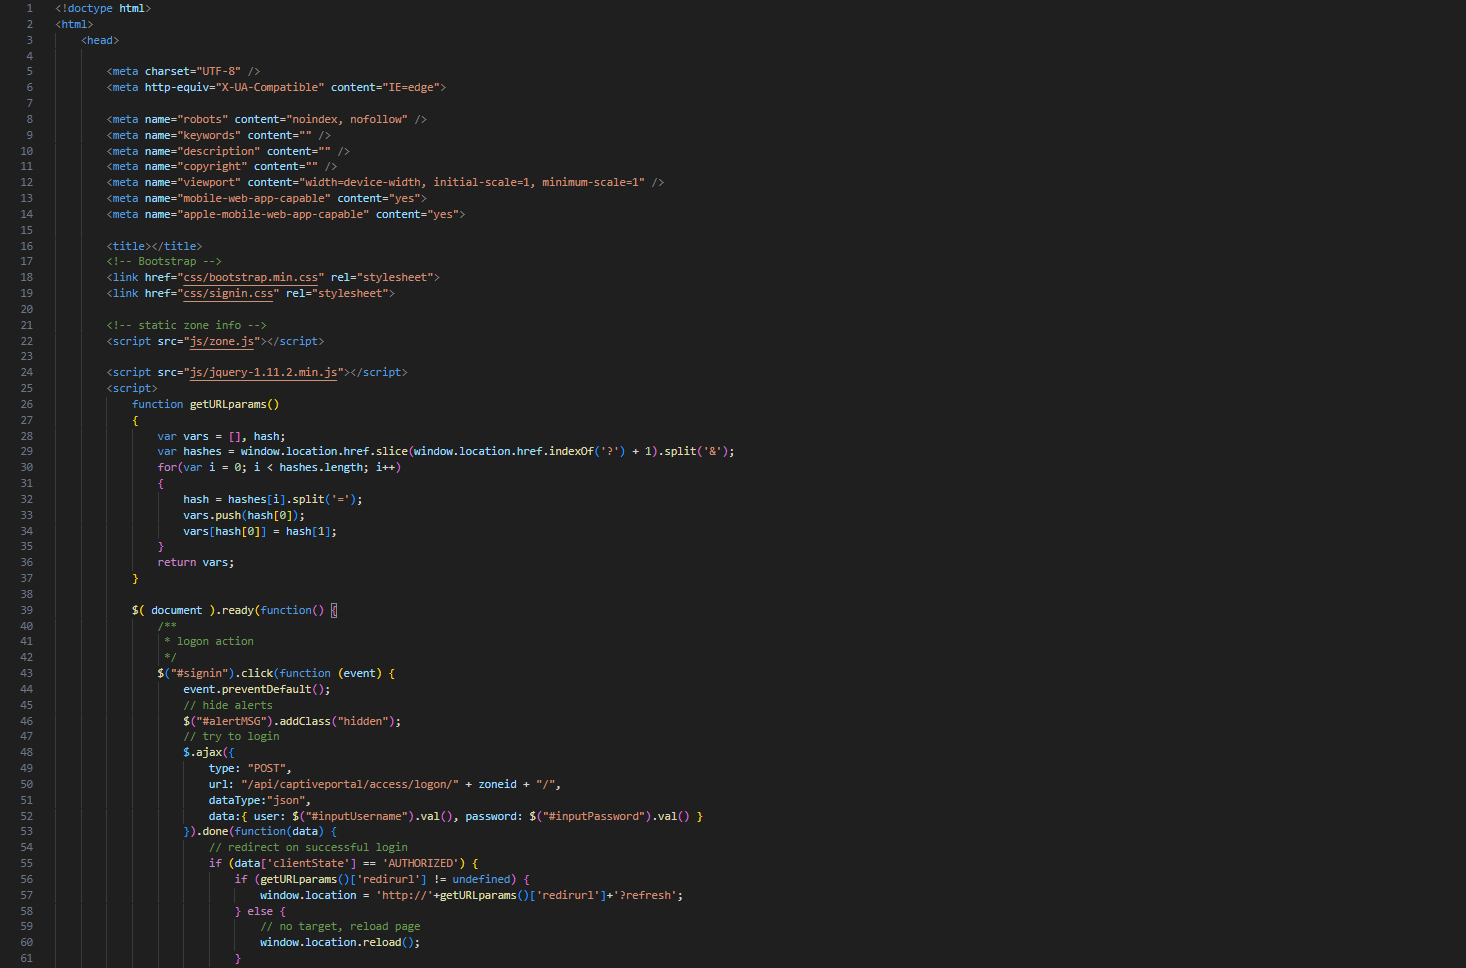
Below, you will see both the content of the zip file and a preview of the default index.html file.

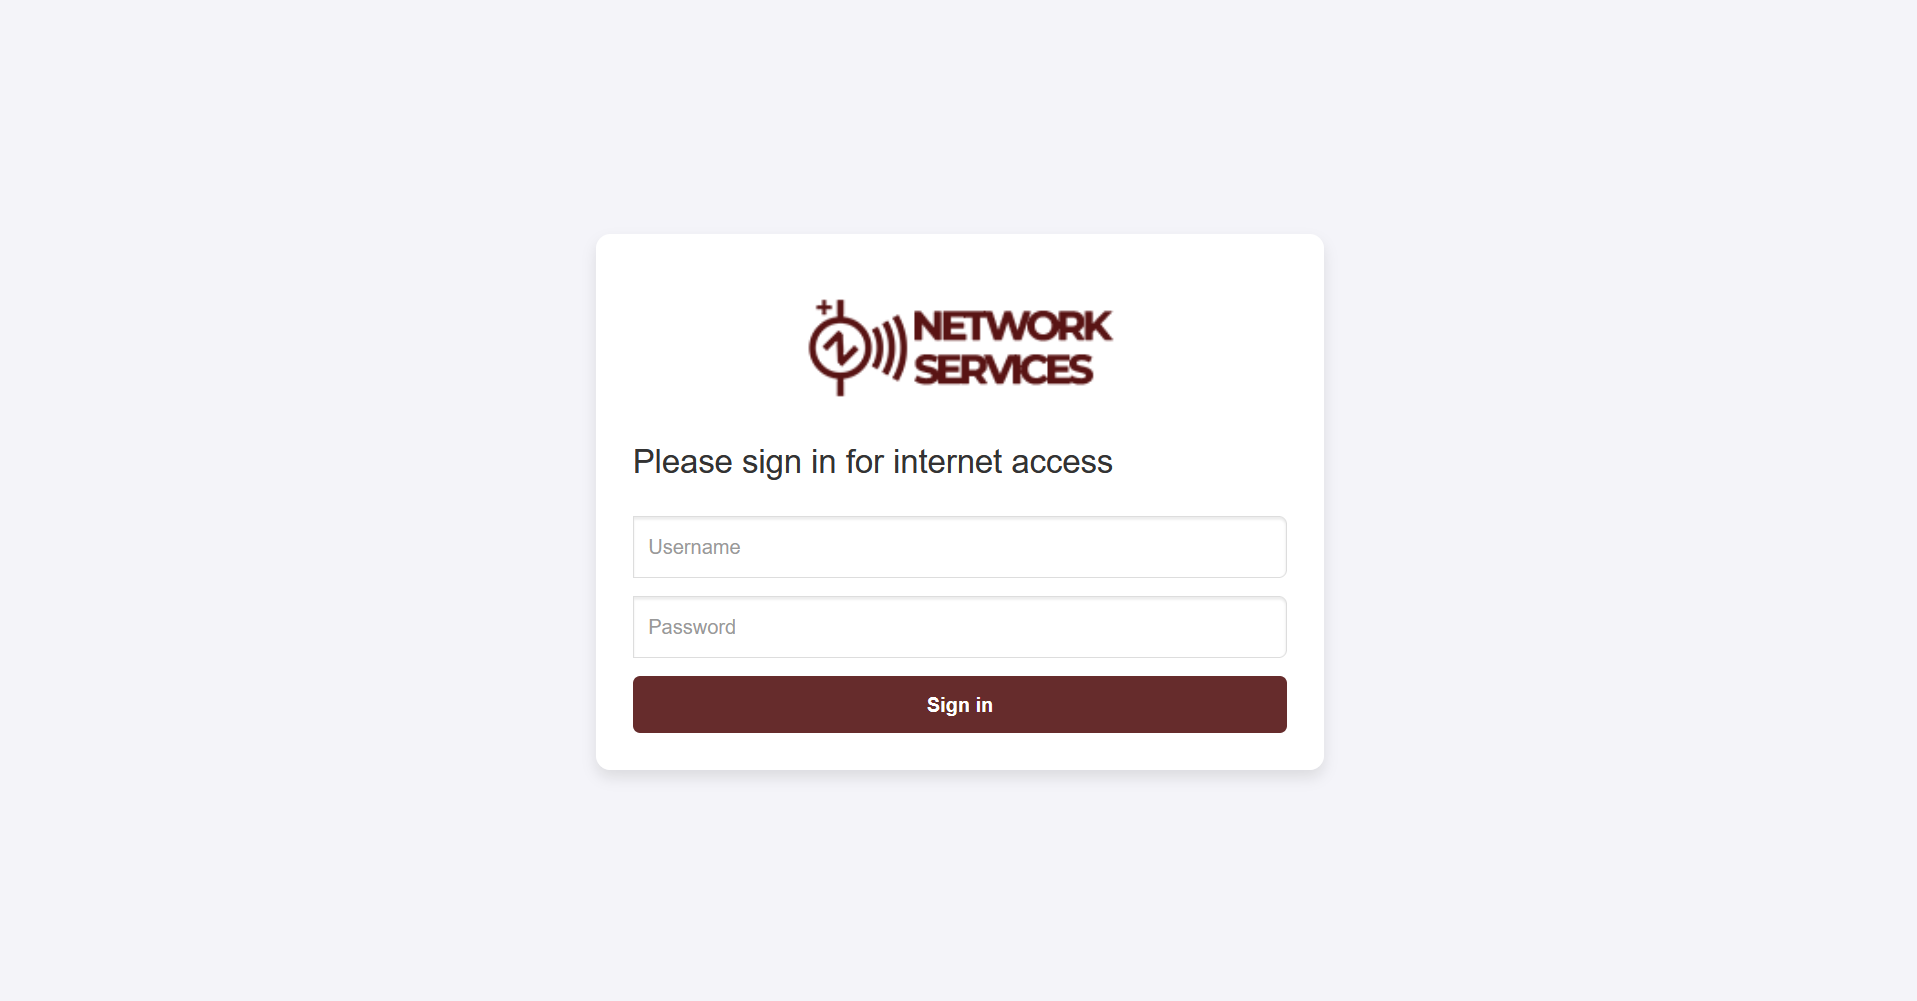
After spending a couple of hours trying to remember all of the CSS I’ve unlearned over the years, I was able to make it look somewhat modern and “okay”-looking.
The fun part (Vouchers via REST API)
As mentioned in the heading, this is the fun part. Having to manually generate the vouchers using the OPNsense web UI every time a user wants to login is extremely tedious and unnecessary. The good thing is that OPNsense provides a native way to generate vouchers using the Captive Portal API endpoint.
To make this more simple and secure, it is advisable to go to System > Access > Users and create a new user with a randomized password and with only the Services: Captive Portal effective privilege. Click save and create an API key for it which will download a file with the Key and Secret in it:
In simpler terms, Key is your username and Secret is your password.
To make it easier to use, we can combine both of them into a string in the format of USERNAME:PASSWORD and encode it in base64:
| |
With the base64-encoded key and secret, we can now make authenticated API requests. The URL for the Captive Portal API endpoint is:
http://<OPNsense IP address>/api/captiveportal/voucher/generateVouchers/<Voucher Server name>
Putting all of this together, we can generate a POST request to the API endpoint to create a new voucher, assuming that we’re generating 1 voucher that’s valid for 3 hours and expires in 6 hours.
This is what it looks like as an HTTP packet:
| |
And here it is as a cURL command:
| |
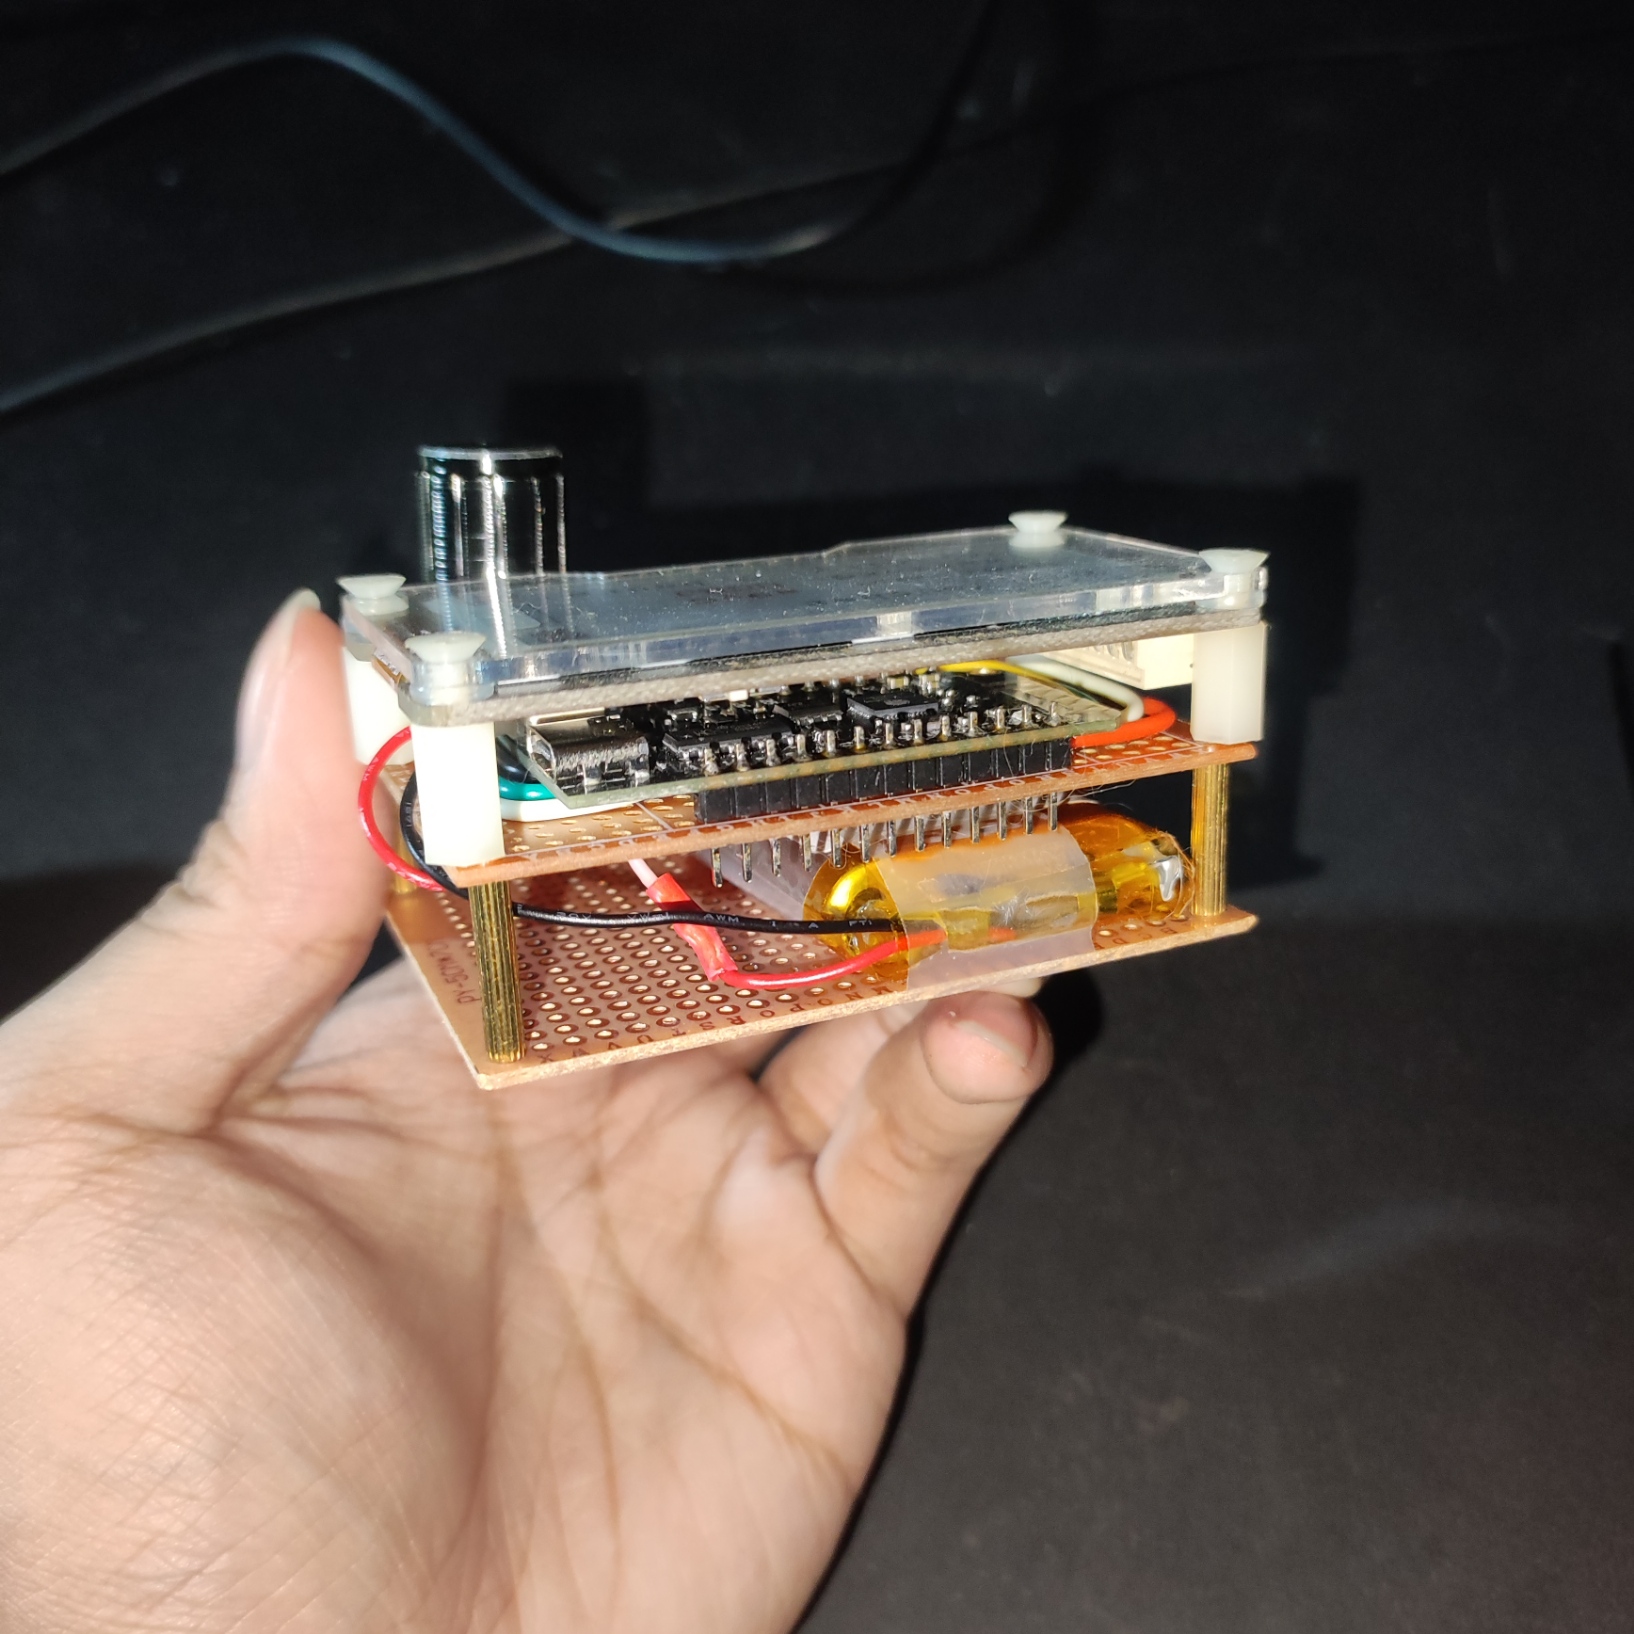
This means that we can use anything that can make an HTTP request to create a voucher, like an application or a microcontroller like the ESP32.
Here, a LOLIN32 Lite ESP32 was used along with an e-ink display, a button, and a battery to create a small device that requests a voucher via the API and prints it on the display when the button is pressed.
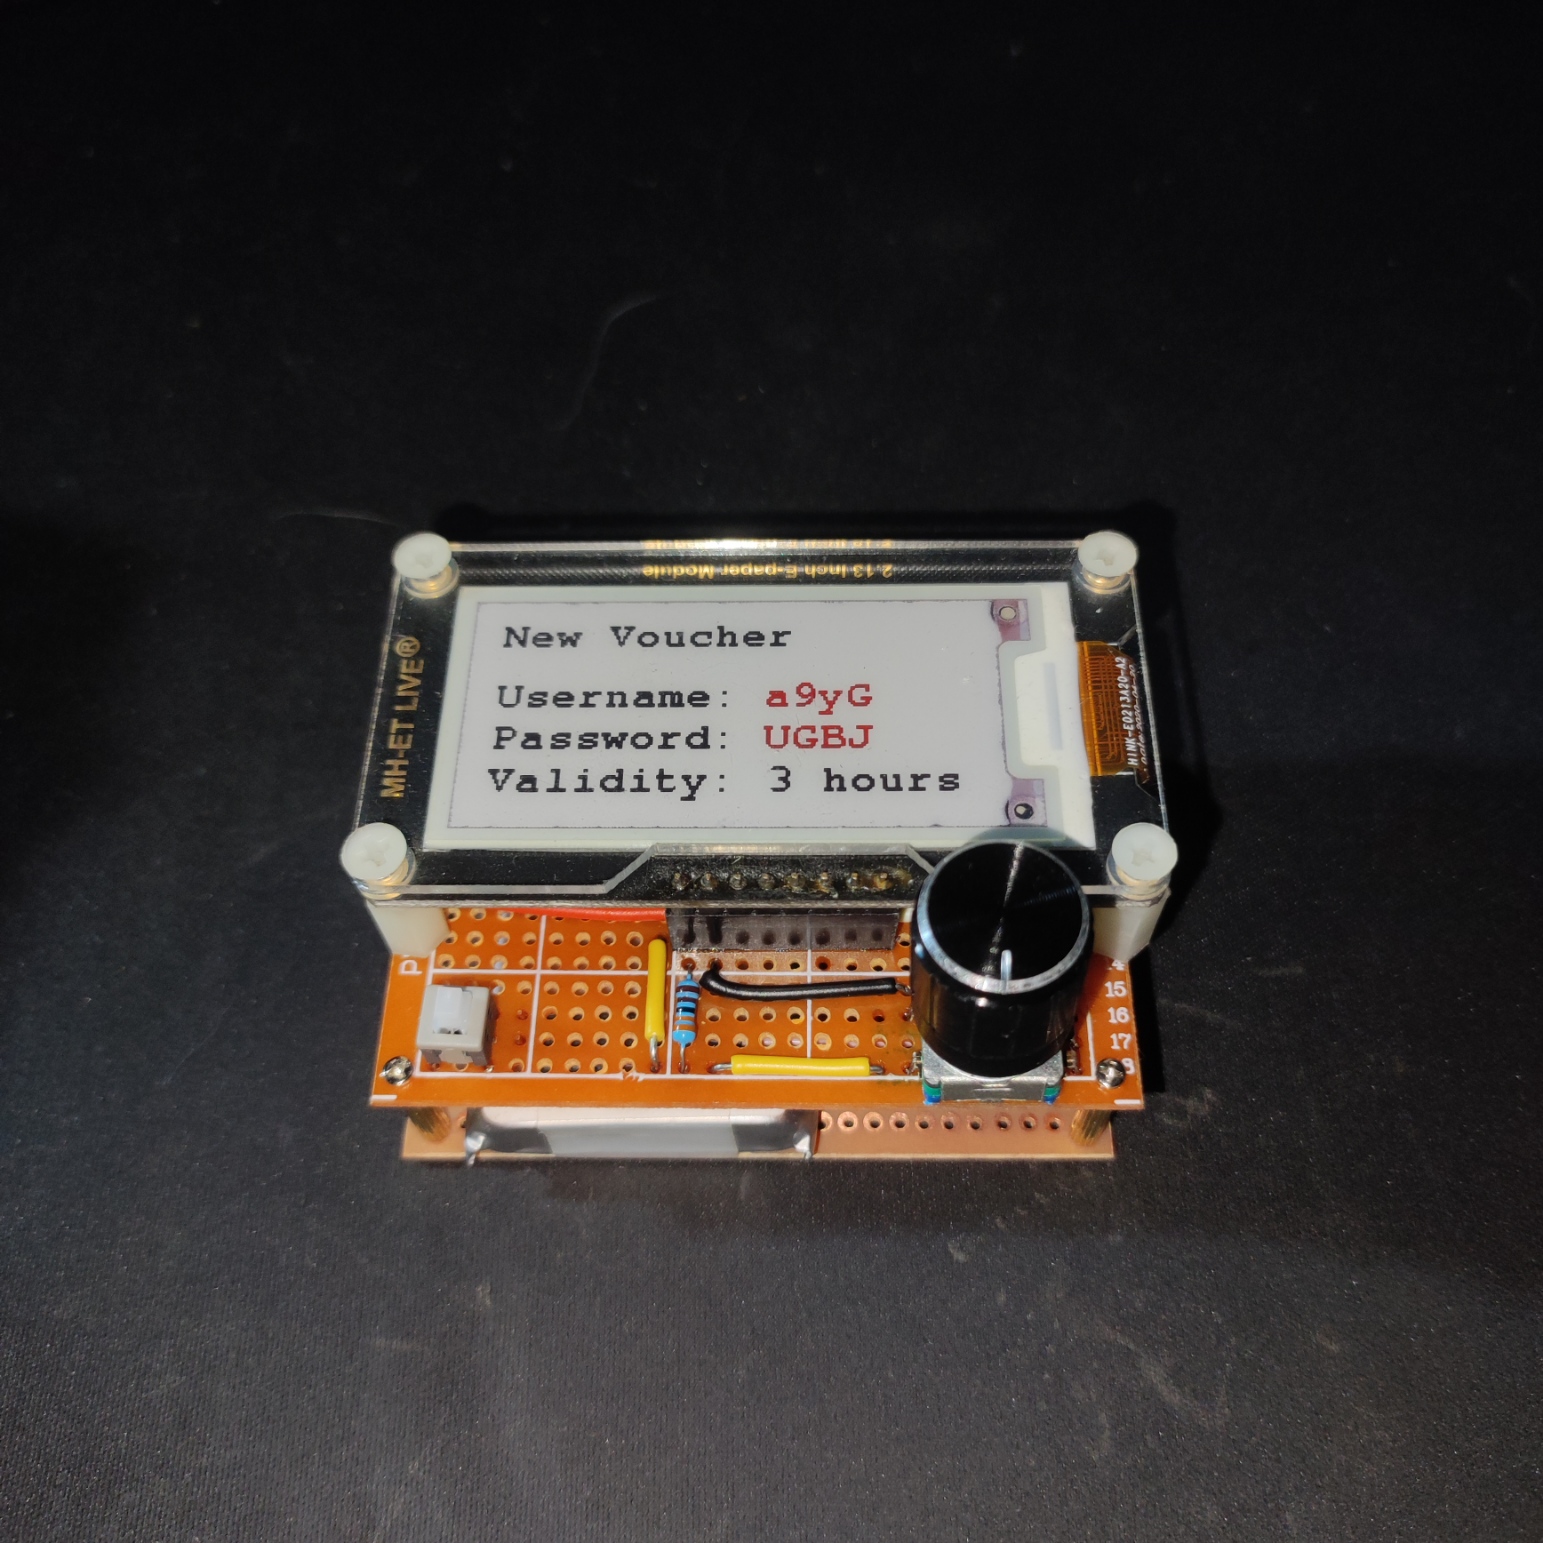
Using the code generated by the ESP32, we can login successfully on the Captive Portal and get access to the internet.